Every unforgettable hiking adventure begins long before the first step is taken—on the crisp, folded surface of a 2D topographic map laid across your planning table. Start by defining your objectives: is your goal a challenging summit, a scenic ridge walk, or a multi-day backpack circuit through backcountry solitude? Consult guidebooks, park service resources, and trip reports to identify potential trailheads, permit requirements, and seasonal considerations. As you gather information, keep your topo map handy to mark the general area and note elevation ranges. This early fusion of inspiration and cartographic context sets the stage for a hike tailored to your ambitions and abilities.
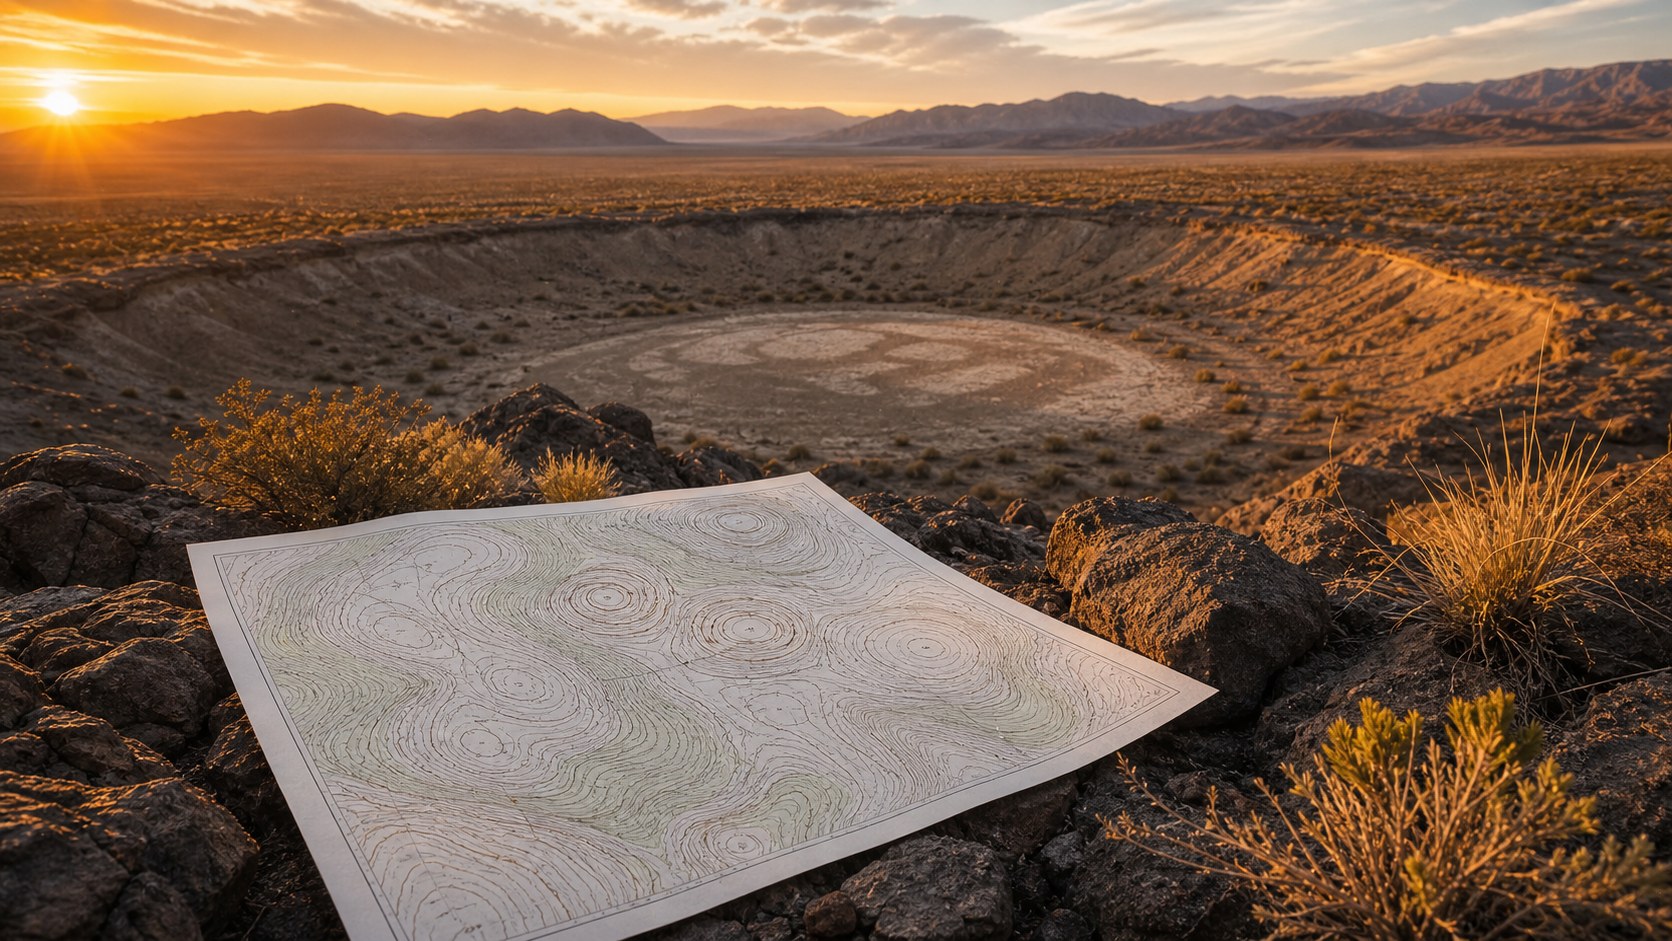
Deciphering Map Fundamentals: Scale, Contour Interval, and Legend
Before plotting any course, you must speak the language of the map. Topo maps employ a scale—often 1:24,000 in the United States—that translates inches on the page to miles on the ground. Equally crucial is the contour interval, the elevation change between adjacent lines, commonly 40 feet or 20 meters. The legend decodes symbols for streams, vegetation, trails, and man-made features. Spend time tracing each map element, mentally converting inches to miles and contour spacings to slope steepness. This literacy allows you to estimate distances and effort required, ensuring your planned route aligns with daylight hours, terrain difficulty, and personal fitness.
Analyzing Terrain: Identifying Ridges, Valleys, and Watercourses
A topographic map is a three-dimensional landscape in miniature, its ribbon-like contour lines weaving the story of peaks and troughs. Ridges appear as elongated loops, valleys as V-shaped contours pointing uphill toward the watershed. Streams carve narrow contours with tighter spacing, indicating steeper channels. By “reading” these patterns, you can foresee the ups and downs of your journey—where the steep climbs await, where natural benches offer rest stops, and where water might appear at the base of hollows. Mark these features on your map, sketching envisioned high points, aspiration saddles, and potential water sources to inform your route design.
Plotting the Course: Drawing Your Route on the Map
With terrain knowledge in hand, it’s time to draw your intended route directly onto the topo sheet. Begin at your trailhead, marking the exact point where you’ll park or be dropped off. Follow established trail symbols, if present, tracing them through the map’s topography. In areas without formal paths, create your own line that carefully contours around cliffs and steep slopes, aiming for gradual ascents along benched terrain. Whenever you cross a stream, ensure there’s a feasible ford or bridge symbol indicated. Use a colored pencil or highlighter to differentiate segments: the uphill push to the ridge, the ridge traverse, and the descent back to the valley floor.
Gauging Distance and Elevation Profile
Distance on flat ground is only half the story; elevation gain and loss often dictate a hike’s true difficulty. To calculate mileage, use the map’s scale bar or a ruler to measure each segment of your highlighted route, then convert inches to miles. For elevation, count contour lines between your lowest and highest points, multiply by the contour interval, and tally cumulative gain and loss. For a more vivid picture, draw an elevation profile: along a horizontal axis representing distance, plot each contour crossing’s elevation on the vertical axis. The resulting graph visualizes the ups and downs, helping you anticipate energy-sapping climbs and rewarding vistas.
Water Logistics: Locating Reliable Springs and Streams
Water is the lifeblood of any multi-day trek, and topo maps reveal the natural channels where it flows. Look for perennial streams—solid blue lines—and intermittent waterways—dashed blue. Springs may be denoted by a blue circle with wavy lines, indicating reliable flow even in dry seasons. Mark these points as potential resupply stops, spacing them according to your carrying capacity and purification plan. If water sources cluster in valley bottoms, plan campsite locations nearby on adjacent benches or flats, ensuring a safe distance above flood levels yet easy access when thirst beckons at sunrise or dusk.
Campsite Selection: Flat Benches and Views
Beyond water, campsites require flat, sheltered ground that minimizes environmental impact. Identify benches—areas where contour lines flatten out in a broad curve—as ideal plateaus. Steer clear of saddles and valley bottoms prone to wind funnels or pooling rainwater. Higher benches can offer panoramic sunrise views but come with harsher winds and colder nights. Lower campsites near water afford warmth and convenience but risk damp conditions. By marking potential sites on your map, you create fallback options if weather or fatigue forces an early camp. Consider spacing your overnight stops to balance daily mileage with daylight and rest needs.
Hazard Assessment: Avoiding Cliffs, Unstable Slopes, and Dense Vegetation
A map also warns of dangers lurking in the terrain. Closely packed contour lines flag cliffs or steep scree slopes that can block progress. Shaded relief or hachure symbols may highlight unstable ground. Green shading indicates dense forests or brush that slow travel and obscure visibility. Identify these hazards and adjust your route to skirt around them, favoring gentler slopes and open ridgelines when possible. If water crossings look risky—steep gorges or waterfall symbols—plan detours to safer fords upstream. Early hazard detection on your map prevents mid-hike surprises that can end an expedition or compromise safety.
Timing Your Trek: Calculating Pace and Daylight
Matching your route’s demands with available daylight is essential. Based on your distance and elevation calculations, estimate daily mileage using a rule of thumb—such as three miles per hour on flat terrain plus an additional hour per 1,000 feet of elevation gain. Factor in breaks, photography stops, and navigation slowdowns in complex terrain. Compare total time against sunrise and sunset schedules for your hiking dates. If the route’s endgame threatens to push you into darkness, either break the trip into shorter days, choose alternative campsites, or plan an out-and-back day hike to keep the last leg before twilight.
Gear Guided by Terrain: Packing for Success
Your map-based plan informs gear selection. Steep climbs and rocky ridges call for sturdy boots, trekking poles, and gloves to protect hands on scrambles. Dense forests or brush fields suggest long pants and gaiters to ward off scratches and ticks. Desert or alpine zones with high exposure require sun protection—hats, sunglasses, and sunscreen—and perhaps an extra liter of water. Based on campsite elevation and exposure, choose an appropriate-season sleeping bag and shelter rated for expected temperatures. By tailoring your kit to the topographic challenges revealed on your map, you carry only what you truly need, lightening your load and boosting comfort.
Contingency Planning: Alternate Routes and Escape Options
Even the best-laid plans can be undone by weather shifts, injuries, or unexpected terrain obstacles. Use your topo map to draft contingency routes—lower-elevation bypasses, ridge detours, or valley exits that lead to roads or trailheads. Mark potential evacuation points, such as forest service roads or ranger stations. Identify helicopter landing clearings—open areas on benches or meadows—if search and rescue becomes necessary. Share these contingency plans with your hiking partner and emergency contacts. By mapping “plan B” and “plan C” in advance, you arm yourself with clear options when circumstances force rapid decisions.
Navigation Practice: Field-Checking Your Map Plan
Before embarking on the full trek, test a section of your planned route to validate map readings against real terrain. Hike to a chosen ridge or stream crossing, then confirm your projected distance, elevation gain, and campsite suitability. Note any discrepancies: unmarked obstacles, denser vegetation, or diverted waterways. Update your map annotations accordingly. This rehearsal builds confidence in your navigation skills, familiarizes you with local map conventions, and highlights potential challenges. When the main expedition arrives, you’ll proceed with greater speed and assurance, trusting both your map interpretation and route design.
Sharing Your Itinerary and Safety Protocols
No hike should commence without informing trusted individuals of your detailed plan. Provide them with your annotated map pages, clearly marking trailheads, planned campsites, daily objectives, and contingency routes. Include estimated check-in times based on your pace calculations. Share emergency protocols, such as what to do if you don’t report by a certain date or time. Ensure you carry a written copy of this itinerary in a waterproof sleeve. This level of preparation not only safeguards you but also streamlines rescue efforts should unforeseen events arise.
Departing with Confidence: Final Map and Gear Check
The night before departure, spread your topo map and gear out on a table. Visually rehearse each day’s leg, noting key landmarks—distinctive peaks, stream junctions, or cabin ruins—that will guide you. Double-check contour intervals and compass declination values. Confirm your water filtration system, emergency beacon battery, and communication devices. Pack your map in an accessible, waterproof holder near your hip belt. By conducting this final review, you reinforce your mental map of the journey and ensure that both mind and equipment stand ready for the adventure ahead.
Embracing the Adventure through Map Mastery
Planning a hiking trip with a 2D topographic map is an art that blends analytical precision with creative exploration. Each line drawn, each symbol decoded, transforms a blank terrain into a vivid itinerary brimming with possibility. From initial research to final gear checks, your map serves as the compass guiding decision-making, risk assessment, and imaginative anticipation of the journey’s highs and valleys. When you finally step onto the trail, your confidence radiates from the deep connection you forged with the landscape on paper. By honing these map-based planning techniques, every future hike becomes a well-charted expedition, ripe with discovery and safeguarded by foresight.