Using a compass with a 2D topographic map begins with a fundamental step: orienting your map so that its north aligns with true or magnetic north in the field. This alignment creates a shared reference frame between the paper map and the physical world, allowing you to read contours, plot routes, and interpret terrain with confidence. To align your map, place the compass flat on the map surface, rotate the map until the compass needle’s north end points to the north lines on the map, and adjust for declination. Once your map is properly oriented, features such as ridges, valleys, and watercourses will lie in the correct direction relative to your surroundings, setting the stage for reliable navigation.
Understanding Map and Compass Basics
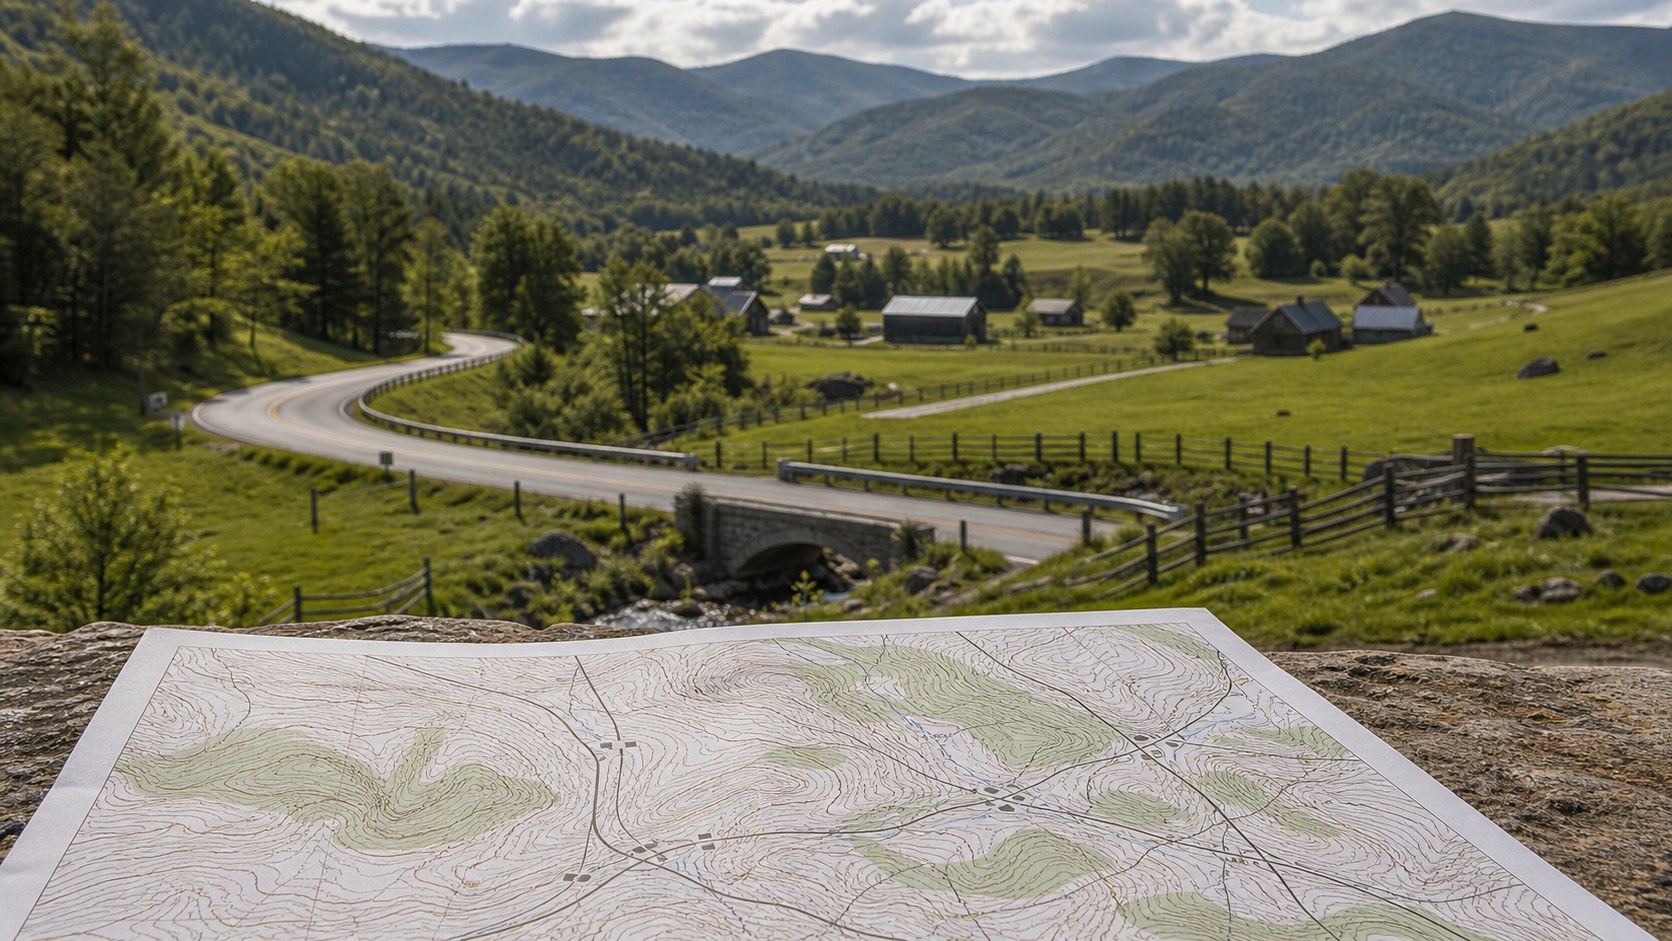
Before diving into combined use, it’s essential to understand each tool on its own. A topographic map portrays three-dimensional terrain using contour lines, symbols for vegetation, water features, and man-made structures, plus a grid of meridians and parallels for reference. A baseplate compass consists of a magnetic needle housed in a rotating bezel marked with degrees, an index line, orienting lines, and direction-of-travel arrow. Together, these tools convert flat representations into actionable navigation data. By familiarizing yourself with map scales, contour intervals, compass parts, and needle behavior, you build a solid foundation for advanced techniques like bearing transfers and triangulation.
Orienting the Map: Techniques and Tips
There are two primary methods for orienting a map with your compass: the compass-to-map method and the map-to-compass method. In the compass-to-map method, you align the bezel’s north marking with the map’s north, then rotate the entire map until the needle settles over the orienting arrow. The map-to-compass method reverses this sequence, using map features and the compass’s direction-of-travel arrow to align the map. Whether you choose one or both, always start on level ground away from metal objects or electronics that can distort the needle. Consistent practice under varying light and weather conditions will sharpen your ability to orient maps quickly and accurately.
Taking a Bearing from the Map
Once your map is oriented, find your desired destination or landmark on the map. Lay the compass edge so that it intersects your current position and your target point. Rotate the bezel until the orienting lines align with the north-south grid lines on the map, ensuring the orienting arrow points to true north. Read the bearing in degrees at the index line. This angle represents the direction of travel relative to north. Noting this bearing allows you to transfer the direction from the map to real terrain, guiding you toward ridgelines, trail junctions, or mountain passes with precision.
Adjusting for Magnetic Declination
Earth’s magnetic north pole and true north pole do not coincide, creating a declination angle that varies by region. Ignoring declination can lead to significant navigation errors over distance. Consult your map’s margin for the declination diagram, which shows the angle and whether magnetic north lies east or west of true north. To adjust, add or subtract this value from the map bearing: if magnetic north is east of true north, subtract declination; if west, add it. Some compasses feature adjustable declination scales, allowing you to preset the correction and read magnetic bearings directly without manual adjustment each time.
Transferring a Bearing to the Ground
With your declination-adjusted bearing set on the compass bezel, it’s time to find that direction on the ground. Hold the compass flat at waist height, with the direction-of-travel arrow pointing ahead. Rotate your body until the magnetic needle falls within the orienting arrow housing—also called “putting red in the shed.” The direction-of-travel arrow now points along your intended bearing. Identify a distant, visible landmark—such as the tip of a ridge, a boulder, or a distinctive tree—that falls along this line. Walking to that landmark allows you to maintain a straight path over uneven terrain without constantly consulting your compass.
Following a Bearing and Adjusting for Terrain
Terrain seldom provides a straight, unobstructed path. When obstacles such as dense brush, cliffs, or impassable streams block your line of travel, use attack points and aiming off techniques. First, identify a large, easy-to-spot feature along your bearing to serve as an intermediate checkpoint. If you must detour around an obstacle, temporarily choose a different bearing to a prominent landmark, navigate that leg, then reset your bearing toward the original target once past the barrier. Keep your compass level and periodically check your bearing, especially after each detour or when visibility improves. This disciplined approach prevents drift and navigational errors.
Triangulation: Pinpointing Your Position
Triangulation is a powerful technique for determining your precise location on a topo map using known landmarks. From your current position, take a bearing to at least two, ideally three, distinct features visible in the distance—peaks, towers, or large rock outcrops. Plot each bearing as a line radiating inward from the corresponding landmark on your map. Where two lines cross, you find your approximate location; three lines provide even greater accuracy by creating a small triangle that encompasses your true position. This method is invaluable when visibility varies, trail markers vanish, or GPS signals falter, grounding you firmly on the map.
Navigating to Waypoints
In many outdoor adventures, you’ll pre-plot waypoints—specific coordinates or map features marking campsites, water sources, or decision points. To navigate to a waypoint, transfer its map-derived bearing to your compass, adjust for declination, and follow the bearing to the waypoint’s approximate area. Since waypoints often mark discrete features like springs or trail junctions, zoom in on the map scale where contour lines cluster or paths converge, ensuring you recognize the waypoint in the field. Confirm arrival by matching both the terrain’s shape—saddle, spur, or valley—and any associated map symbols before proceeding to the next leg of your journey.
Backbearing: Checking Your Route
Backbearing is the technique of reversing your original bearing to confirm that you can return along the same path. On the map, add or subtract 180 degrees from your original bearing and adjust for declination. On the ground, rotate the bezel to the backbearing, realign the needle, and follow the reversed direction-of-travel arrow. Frequent backbearing checks reinforce your awareness of orientation and ensure that detours or drift have not led you off-course. In emergency situations, knowing how to reliably backtrack to your starting point or a known landmark can be critical for safety and peace of mind.
Advanced Compass Skills
Beyond basic bearing and triangulation, advanced users employ techniques such as resection, intersection, and shadow-aided navigation. Resection involves standing between two known landmarks to plot your precise spot by taking bearings to each. Intersection uses two observer positions taking bearings to a single distant landmark, plotting the crossing lines on the map to locate that feature. Shadow-aided navigation leverages the sun’s position: by noting the sun’s azimuth at a given time and referencing solar charts, you can approximate your bearing even without a compass, a useful backup when instruments fail.
Integrating Compass and GPS
Modern handheld GPS devices often include built-in electronic compasses and topo map overlays, merging the precision of digital waypoints with the tactile engagement of paper navigation. To integrate both, use the GPS to record waypoints and track progress, but rely on your compass and paper map to interpret terrain and plan contingency routes. In areas where satellite reception is obstructed—deep canyons, dense forests, or narrow valleys—a traditional compass remains reliable. By cross-verifying GPS tracks against your map and compass bearings, you avoid overreliance on any single system and develop a holistic navigation strategy.
Common Mistakes and How to Avoid Them
Even experienced navigators can fall prey to compass and map errors. Typical pitfalls include failing to adjust for declination, neglecting to level the compass, reading bearings off the wrong side of the bezel, and misidentifying contour patterns. Mental fatigue, poor lighting, and hurried route changes exacerbate these mistakes. To mitigate them, adopt a systematic process: always orient the map, verify declination, take and record each bearing, and confirm arrival at intermediate points. Regularly rehearse basic skills in familiar terrain before tackling challenging expeditions. Consistency and habit formation are your best defense against navigational lapses.
Building Confidence through Practice
Navigation proficiency grows through deliberate practice rather than sporadic use. Start in a familiar park or neighborhood with clearly defined features and gradually increase complexity—transition from simple straight-line bearings to multi-leg routes requiring obstacle avoidance and triangulation. Incorporate timed exercises, map-and-compass races, or geocaching challenges to add excitement and test your skills under pressure. Join navigation workshops or local orienteering clubs where seasoned mentors provide feedback and share nuanced tips. Over time, your confidence will soar as you realize that, armed with a paper map and a compass, you possess the fundamental tools to explore and understand any landscape.
Embracing the Journey of Terrain Navigation
Mastering the compass alongside a 2D topographic map is much more than a technical skill; it cultivates a profound connection to the land. Each contour line becomes a clue, each bearing a path to discovery. Whether you are forging new trails in backcountry wilderness, plotting strategic survey lines for engineering projects, or simply seeking outdoor adventure, the synergy of map and compass transforms abstract symbols into lived experiences. As you continue to refine your techniques—orienting maps under starlight, triangulating hidden ridges, and rechaining through deceptively smooth valleys—you emerge not just as a navigator but as a guardian of Earth’s varied and dynamic terrain.